
Understanding Compression
Compression, a powerful yet often misunderstood process is ‘typically’ used to automatically adjust the volume of an audio recording to help obtain a regulated or ‘more consistent’ dynamic range.
When it comes to (post) controlling the dynamics of an audio signal it’s fair to say that the compressor is one of (if not the) most powerful tools an engineer can have at their disposal. Although simple in theory, compression is a technique that can require a lot of practice to master and is probably (for beginners at least) the most difficult of mix tools to get to grips with.
Understanding is key
Compression when misused has the ability to completely destroy a good sounding recording, and because of this I believe it to be extremely important to at least obtain a knowledgeable understanding of the basics before going out and inserting a compressor on every channel of your latest mix!
I know this sounds silly but a lot of engineers, even seasoned ones will strap a compressor on EVERY channel of their mix because they think they have to or because they have been taught that compression ‘makes things sound better’ – and yet they themselves may not understand what the compressor is actually doing to their audio and why their music ‘may’ sound over-compressed and lifeless.
So let’s get back to basics here and discuss what a compressor actually does and how its controls affect incoming audio.
How does a compressor work?
In its simplest form a compressor is essentially an automatic volume controller that prevents incoming audio signals from rapidly exceeding or falling below a selected amplitude threshold.
Signals that exceed the set threshold will be compressed (attenuated in volume) by an amount set by the compressors ratio control.
The ratio controls the amount by which the audio signal will be attenuated once exceeding the set threshold. For example, setting a ratio of 2:1 with an input signal that exceeds the threshold by 2db would output a signal which is 1db above the threshold. In this example a signal exceeding the threshold by 6dB would be attenuated to 3dB above the threshold, or 50% of its original volume.
In simpler terms the ratio controls the intensity of the compressor’s effect on an audio signal. Subtle compression can be achieved by using lower ratios such as 2:1 or 3:1 whilst more aggressive and obvious compression can be achieved by setting higher ratios such as 6:1 and above. Ratios of over 20:1 are usually seen as limiting. In fact a limiter IS a compressor with an infinite ratio, thus when a signal hits the threshold it doesn’t exceed it – hence the term brick-wall limiting.
A Brief History
Signal processing in the audio industry dates back as far as the early 1960’s when compressors were specifically used as a method of correcting and solving errors in audio recordings.
Compressors allowed engineers the ability to achieve a dynamically steady sound within recordings that either didn’t need to be dynamic or would benefit from a higher average loudness. A good example of the latter would be when mixing vocals for a predominantly vocal led track.
Engineers would often ‘ride’ the volume of the vocal track using their mixing console’s faders to obtain a smoother and overall louder, more consistent sound. They would essentially be turning up the quiet parts and turning down the excessively loud parts which in turn allowed the vocal track to sit prominently in the mix without being washed out by the other instrumentation.
The above is essentially what a compressor does automatically – reduce the dynamic range or difference in level between the quiet and louder parts of an audio recording.
Creative Compression
Although signal processors were originally designed as corrective tools they soon began to be used creatively by pioneering engineers of the 60’s.
Joe Meek is known as the first person to heavily experiment with signal processing. He would use compression and limiting as a creative effect to obtain a heavily squashed pumping sound on his drum recordings.
Record labels at the time didn’t really agree with this sound, but Joe continued to experiment with his creative ideas. Breaking the boundaries and believing the sound of a recording to be as important as the music itself played a huge part in how music is currently produced and mixed.
Another adventurous engineer of the 60’s was famed producer of ‘The Kinks’ Shel Talmy. Here is a quote from him noting how he used what is now known as parallel or NYC compression:
“I’d split the feed from a guitar mike and bring it up on two channels of the board. I’d heavily compress one but not the other and balance the two so that there was no phase cancellation. The predominant sound would be the uncompressed channel. But the heavily compressed channel would be beneath it ail the time, constantly pushing up the level. So you got that kind of pounding guitar sound, but with clarity from the uncompressed channel.”
It’s fair to say that nowadays compression is used just as much as a creative tool as it is a corrective one and I will go into much more detail on this subject in the next article.
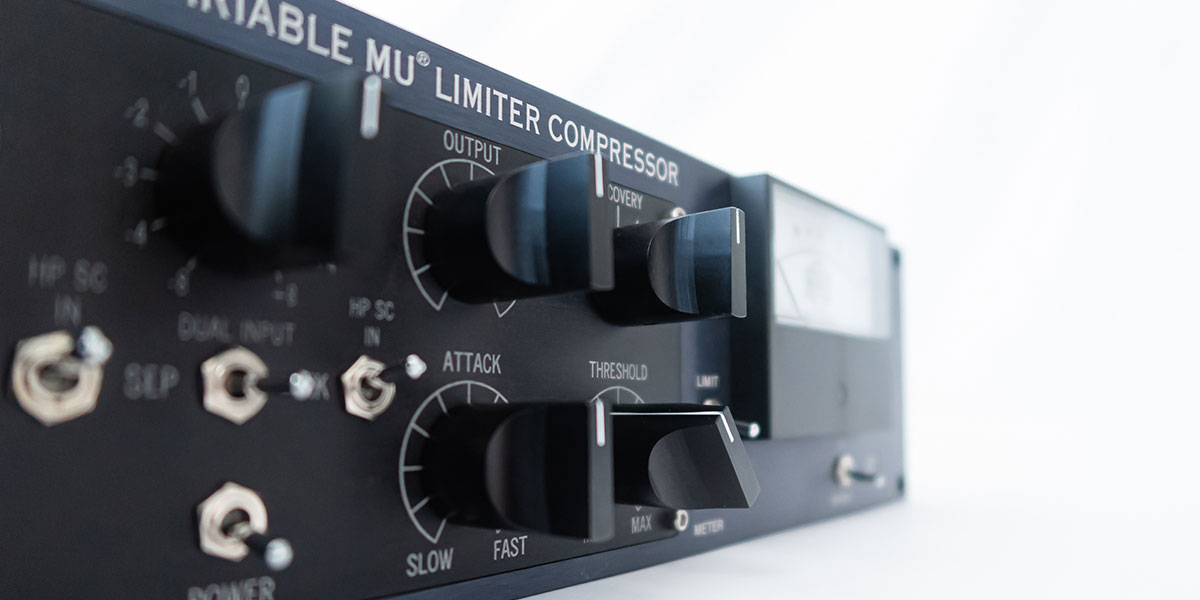
A Compressor’s Controls
The way in which a compressor interacts with an incoming audio signal can be altered (quite dramatically I must add) by using the following common controls found on most compressors:
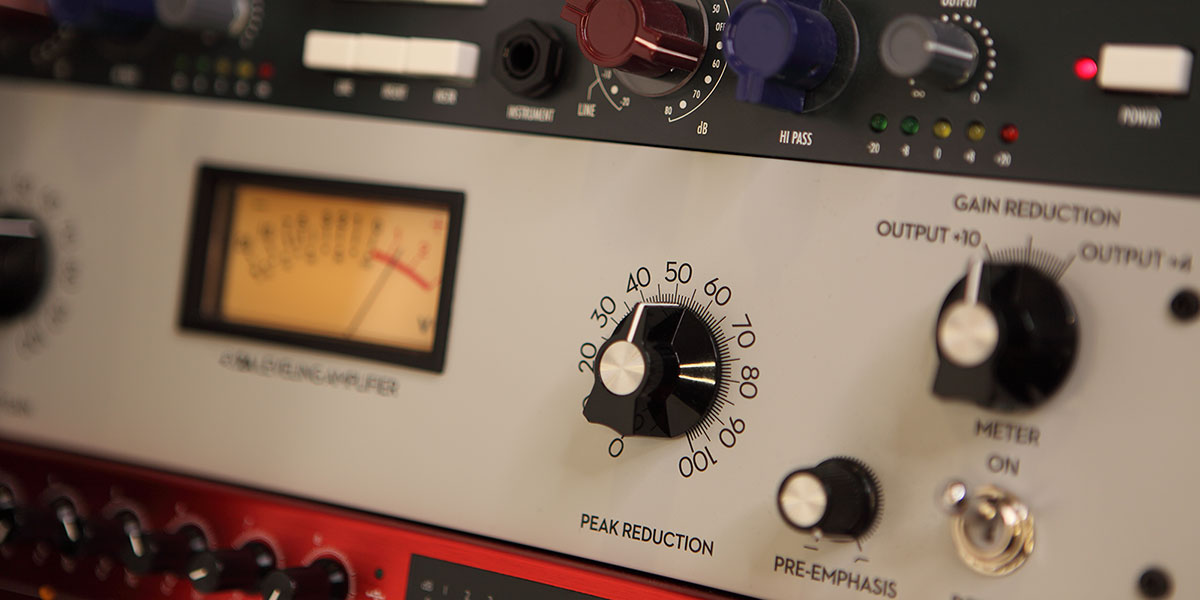
Threshold
Along with the ratio the threshold is the most important control on a compressor. The threshold is the level/volume at which the sound starts to reduce in volume as it passes through. If the signal does not reach the threshold set, no compression will take place. Signals which pass the threshold are brought down in volume by an amount set by the previously discussed ratio control. Correctly setting the ratio and threshold are the most important aspects to mastering compression and understanding its effect on an audio signal.
Attack
The attack time determines how quickly the volume is reduced once the input exceeds the set threshold. The attack time is usually measured in milliseconds (ms) and the amount of control over time can vary quite dramatically from compressor to compressor.
The attack can be used to drastically alter the dynamics of the input source and along with the release can be used to creatively or correctively shape a sound. A fast attack for example will reduce the energy of incoming transient peaks whilst a slow attack allows the initial transient to pass untouched. The latter is a great way of adding punch to drum sounds.
Release
The release time determines how long it will take for the gain reduction to stop (and return to it’s normal state) after the signal falls back below the threshold. It can be seen as the time it takes for the sound to be return to it’s original volume. The release time is a very important aspect of compression and is a control that is often overlooked, especially so by beginners.
If the release time is set too shortly then you will most likely hear a pumping/breathing effect caused by a rapid fluctuation in volume. This can be extremely obvious if compressing a transient busy signal using aggressive settings. This is often something that you will be wanting to avoid, but like most things can be used to your advantage creatively – more on this in the next article.
If a compressor’s release time is set too slowly on the other hand this can negatively affect a track’s energy and in turn result in a dull, lifeless or even muddy sound. This is because the compressor will ‘potentially’ be further attenuating quieter sounds after a loud passage occurs.
Hard/Soft Knee
Many modern compressors feature an additional knee setting which determines the immediacy of the compression once the signal has exceeded the threshold. When using a hard-knee setting, gain reduction or compression occurs immediately after the input signal exceeds the set threshold. This type of compression yields a more obvious aggressive characteristic than that of a soft-knee compressor.
Soft-knee compression works by introducing gradual gain reduction below the threshold at a very low ratio. This ratio increases as the signal gets closer to the set threshold until the set ratio is finally introduced at around the level at which the signal exceeds the threshold.
In simpler terms, if you are looking to achieve an obvious or aggressive sounding compression effect then experiment with using a hard knee setting. If you are wanting to keep the compression more subtle and ‘invisible’ then experiment using various soft-knee settings.
A Few Last Words
I believe the most important aspect of compression to be knowing WHEN to use one, WHY you are using one and WHAT you are trying to achieve by using it.
Understanding the basics of how a compressor works can go a long way in improving your productions, both correctively and creatively.
I’m not saying you should stick to the rules, far from it in fact, but in my opinion understanding the basics will provide a great base for sonic experimentation!
Be Creative and stay tuned!